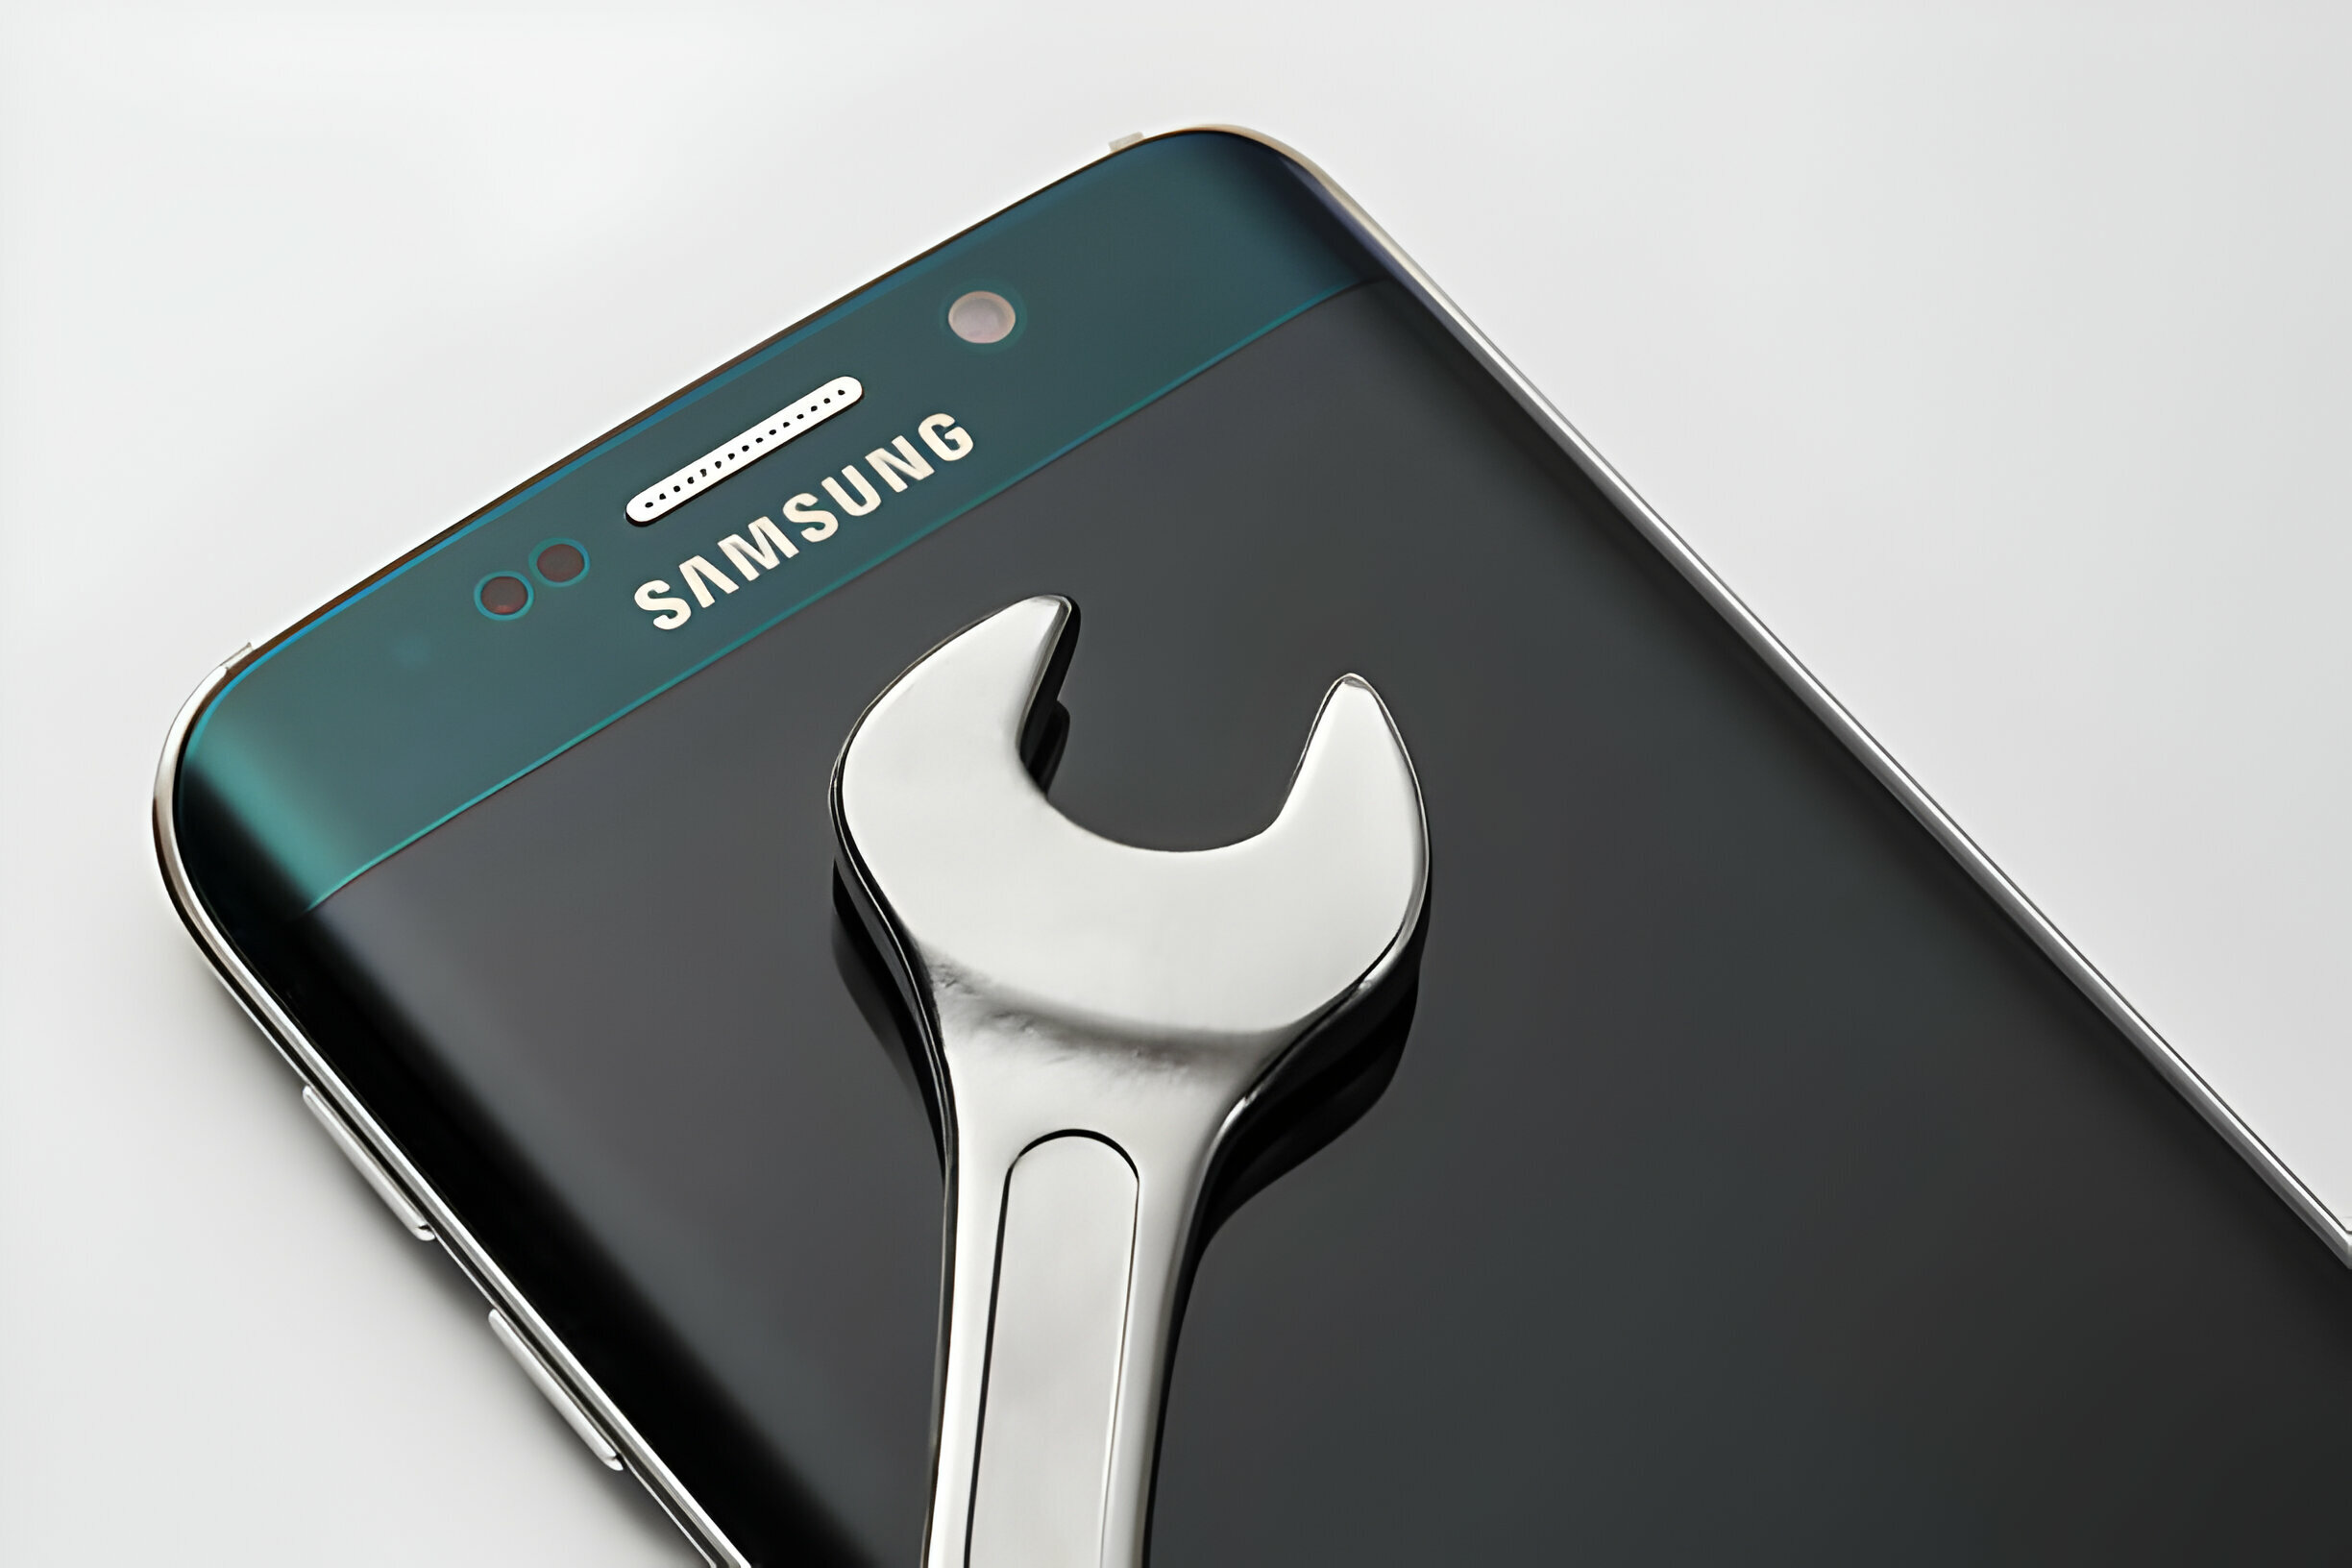
Fortunately, with the right knowledge and tools, Samsung mobile screen repair can be straightforward. This post guides you through each step of Samsung cell phone repair, ensuring your device looks and functions like new again. In today’s fast-paced world, your Samsung cell phone acts as a lifeline to the digital universe. Whether it’s keeping up with emails, capturing life’s moments, or staying connected with loved ones, a damaged screen can bring your daily routine to a screeching halt.

Samsung Cell Phone Repair Service: Where to Start?
Samsung cell phone repair service begins with understanding the extent of the damage. If your screen is cracked but the display is still visible without distorted colors, a simple Samsung mobile glass repair might suffice. However, if the touchscreen functionality is compromised, you’ll likely need a full-screen replacement.
Preparing for Samsung Mobile Fix: Tools and Parts
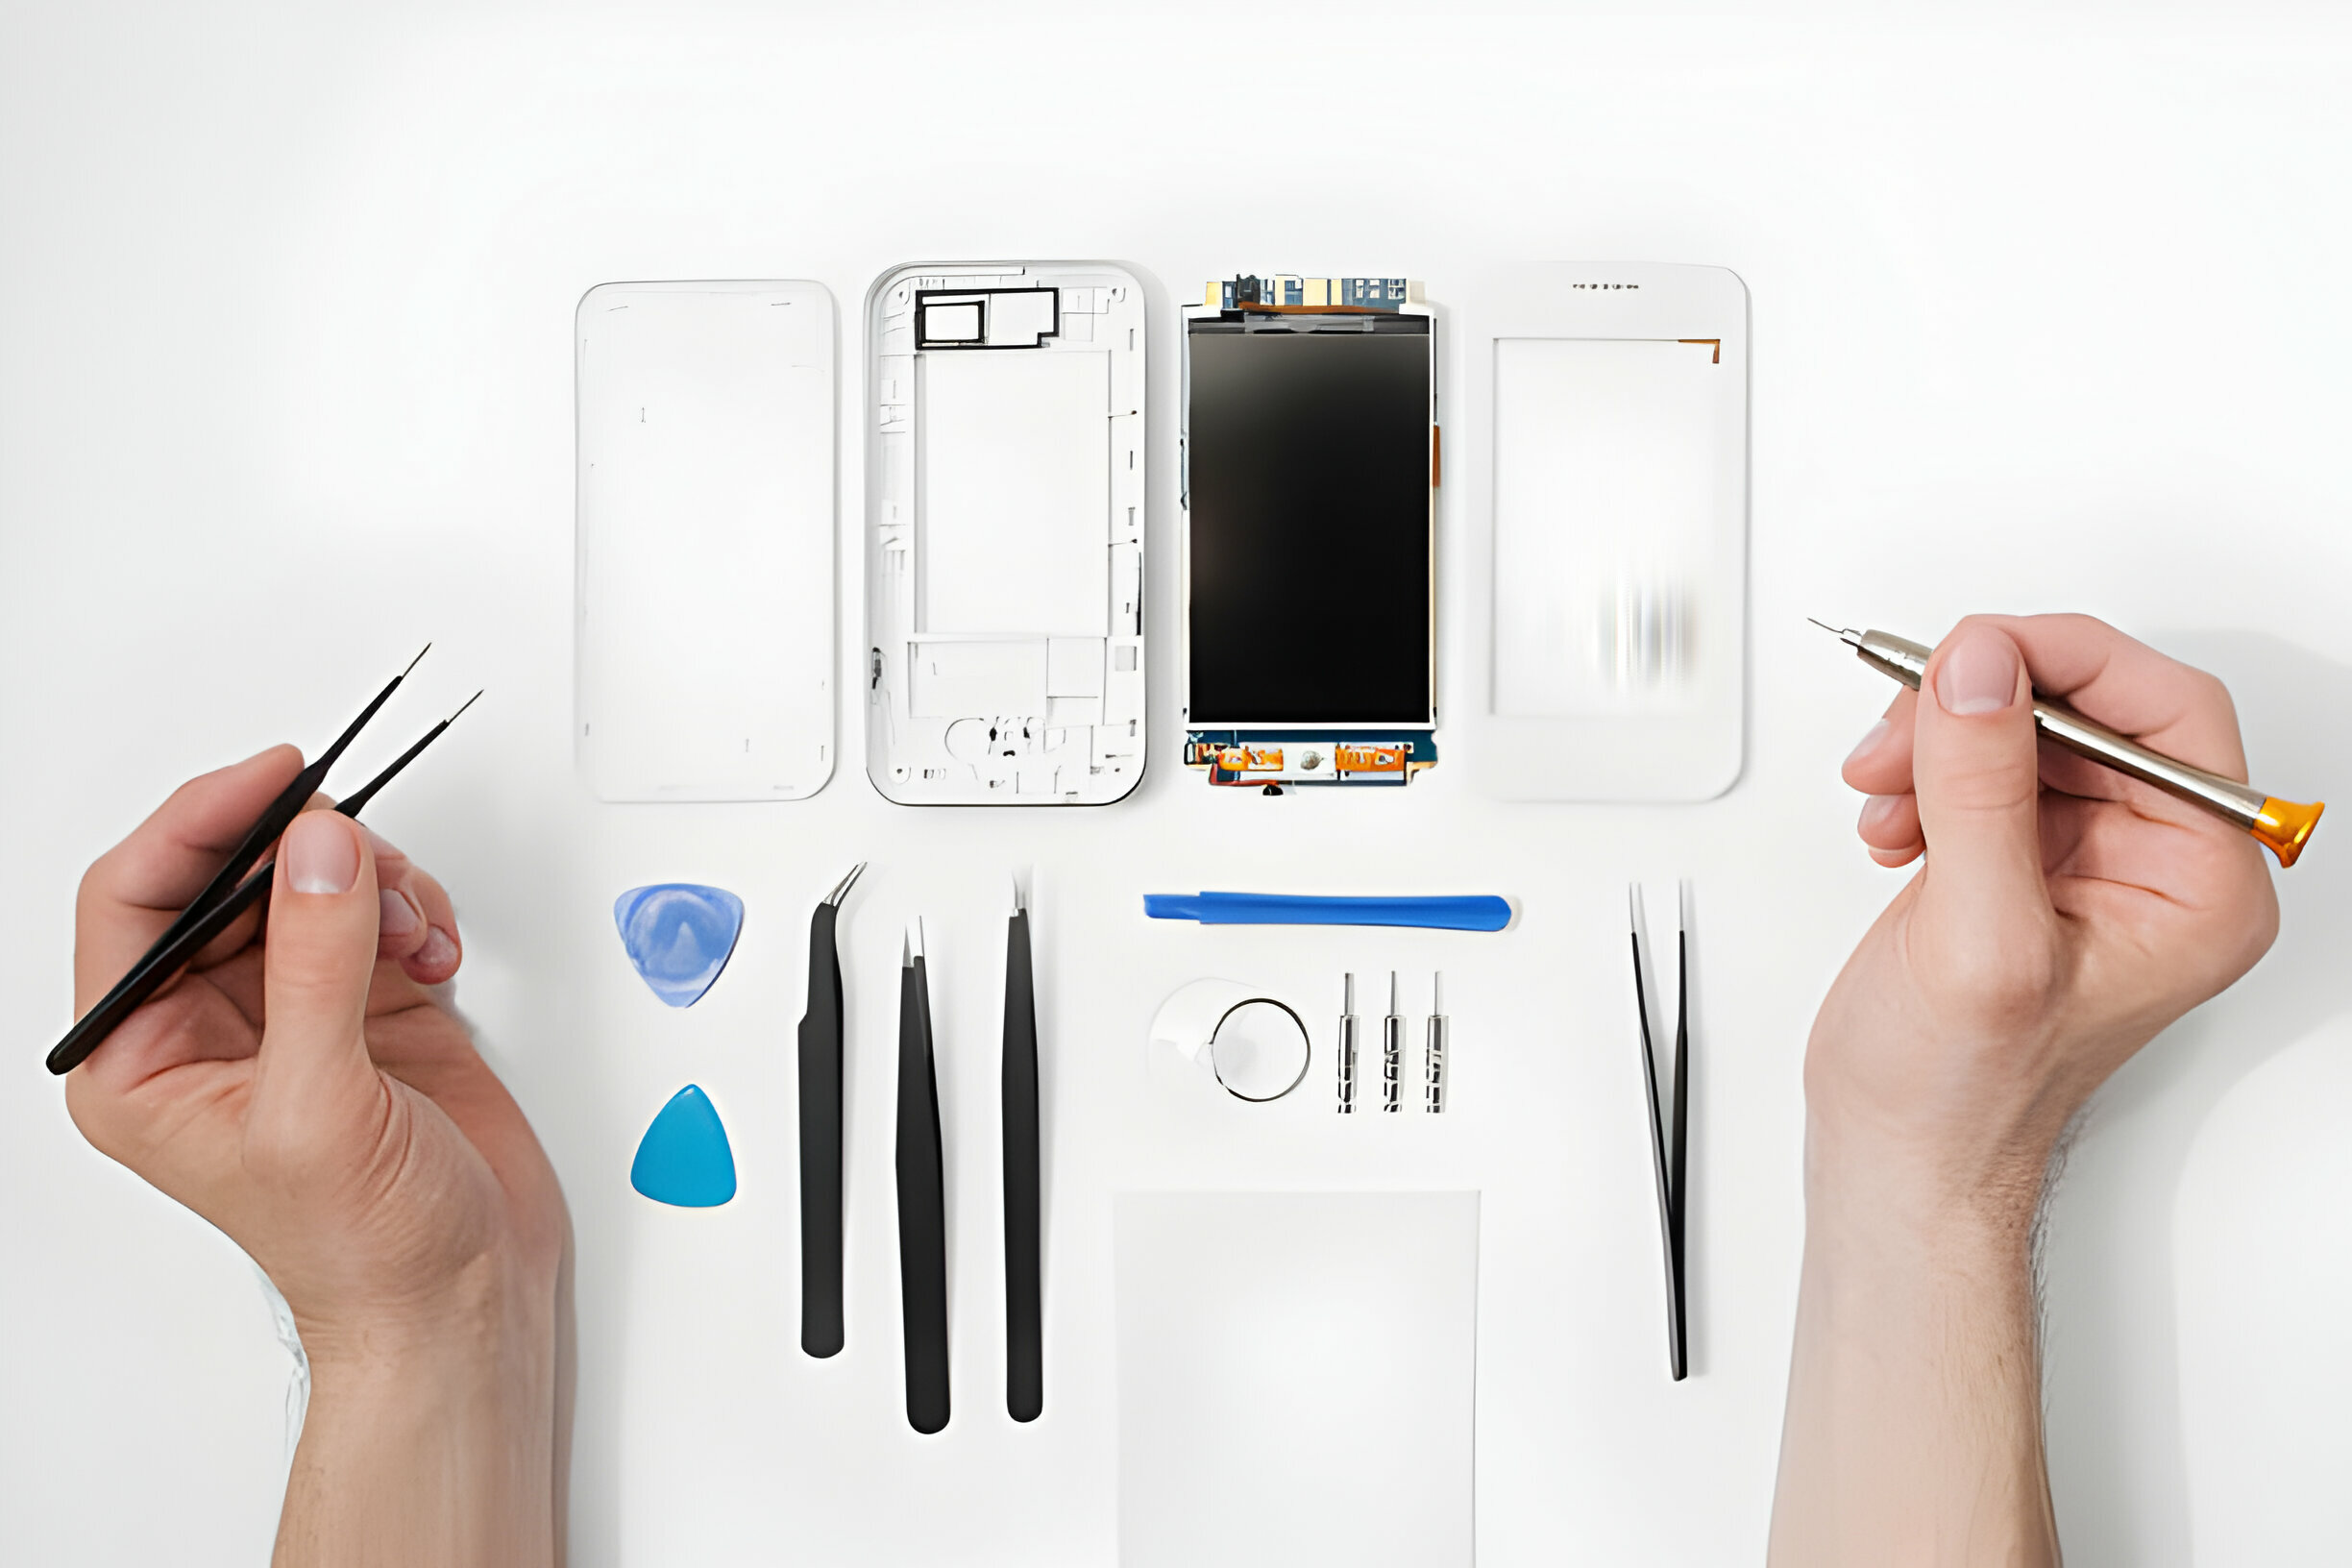
Before diving into the Samsung mobile fix, gather the necessary tools and replacement parts. You’ll need a precision screwdriver set, a pry tool, a suction cup, and, of course, the replacement screen or glass for your specific Samsung model. Purchasing parts from a reputable source is crucial to ensure the longevity of your repair.
Step-by-Step Samsung Mobile Screen Repair
Power Off Your Device:
Ensure your Samsung cell phone is completely powered off to avoid short circuits during the repair process.
Remove the Back Cover and Battery:
Carefully remove the back cover and the battery. This step might vary with newer models that have sealed backs. In such cases, heating the back cover gently with a heat gun or hairdryer can loosen the adhesive.
Samsung Mobile Battery Replacement:
If you’re also dealing with battery issues, now is the perfect time for a Samsung mobile battery replacement. Simply disconnect the old battery and replace it with a new one before proceeding.
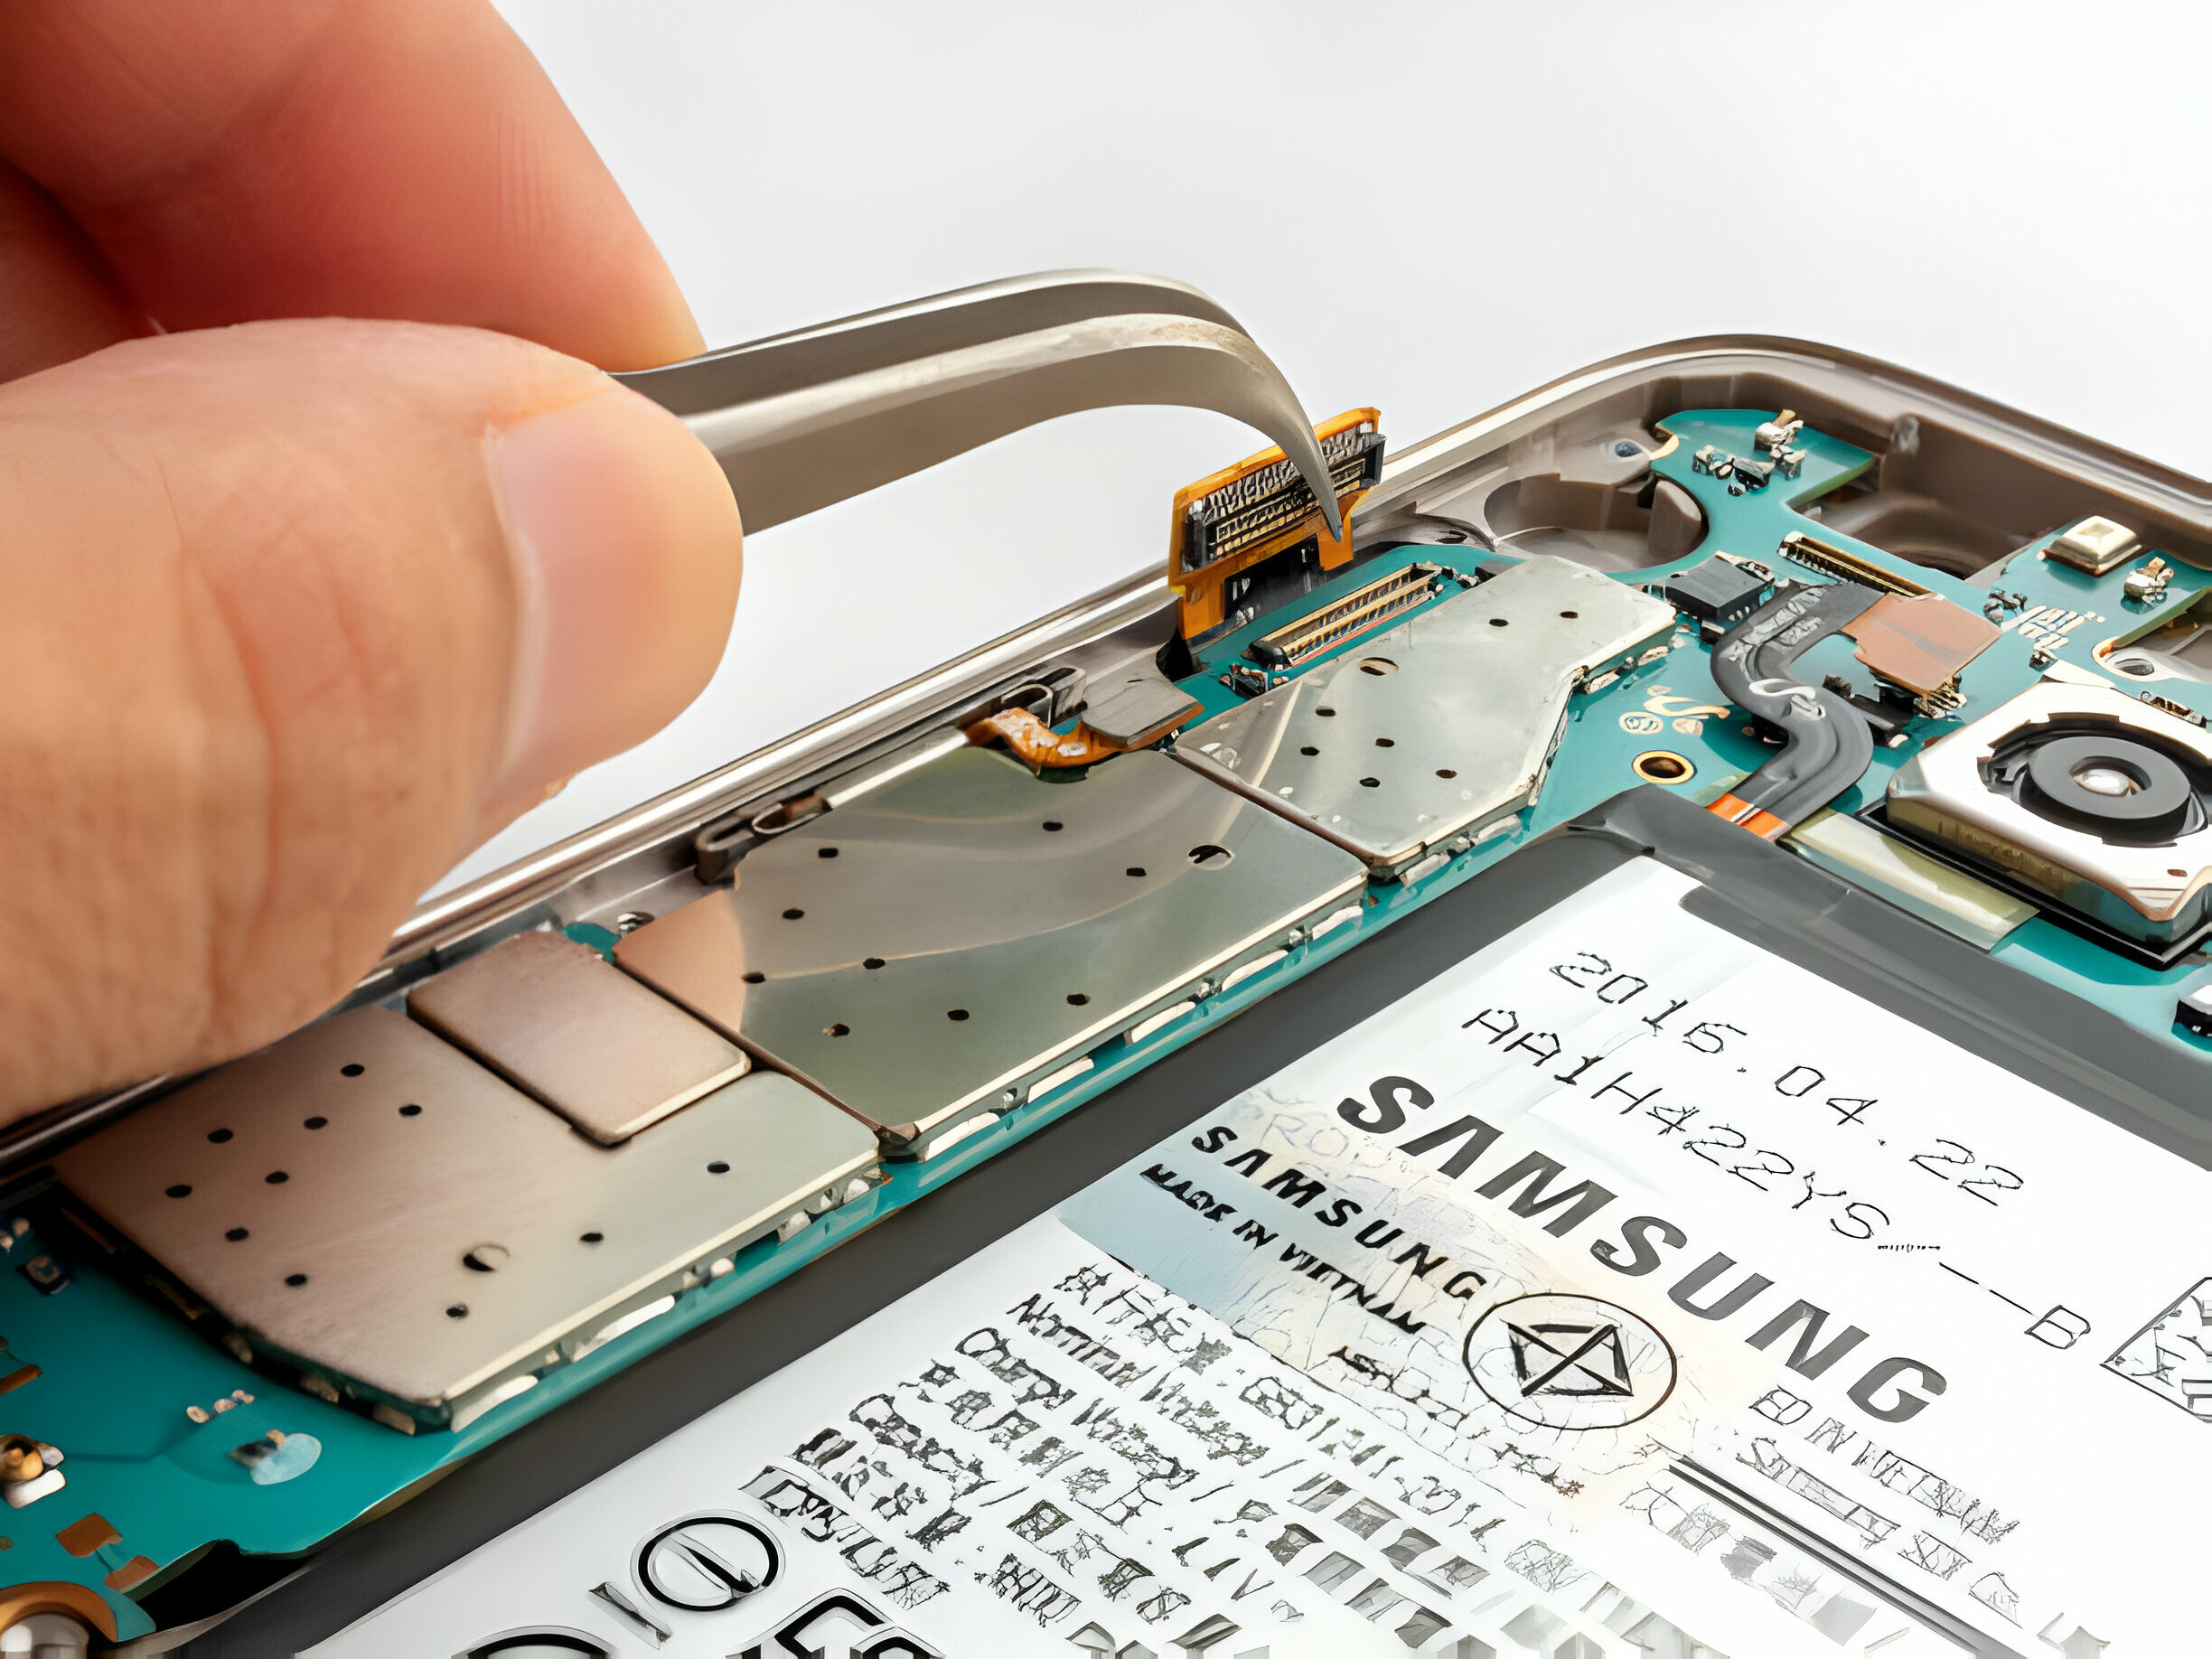
Disconnect and Remove the Damaged Screen:
Use the precision screwdriver to remove any screws securing the screen. Utilize the pry tool and suction cup to gently lift the damaged screen away from the phone body.
Install the New Screen:
Align the new screen with the phone body, connecting any cables or components you removed from the original screen. Secure it in place, reattach screws if necessary, and reassemble your phone by following the disassembly steps in reverse order.
Testing:
Once your phone is reassembled, power it on to test the new screen’s functionality. Check touch response, display quality, and any other functionalities that were affected by the screen damage.
Final Touches: Samsung Mobile Glass Repair
After successfully replacing your Samsung screen, you might notice minor imperfections or residues. Samsung mobile glass repair is not just about fixing cracks; it’s about restoring your phone’s aesthetic appeal. Use a microfiber cloth and a mild screen cleaner to wipe away any fingerprints or adhesive residue gently.
Conclusion
Completing a Samsung cell phone repair for screen damage is a rewarding process that extends the life of your device and saves money. By following these steps, you’ve not only fixed your screen but also gained valuable skills in smartphone repair. Remember, patience and attention to detail are your best tools in achieving a successful repair.
Whether it’s a cracked screen, a worn-out battery, or any other issue, knowing how to address common damages empowers you to keep your Samsung mobile in top condition. Happy repairing!